How to Build Your Own Swimming Pool: An Easy Guide
Are you thinking of adding a swimming pool to your home?
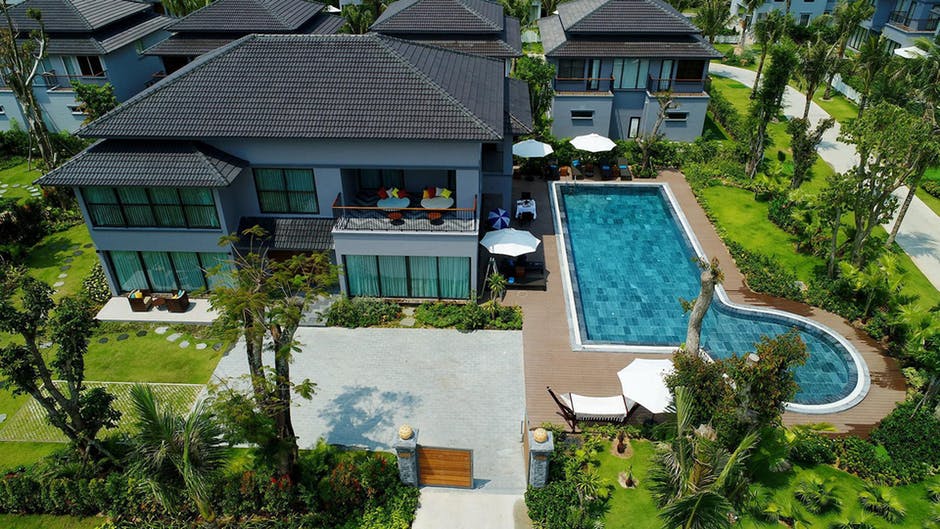
There’s no doubt that a pool can greatly increase the value of your home when it comes time to sell, but the immediate expense is often a lot to overcome. You’ve got to overhaul your yard, pay for all the supplies, and hire people to do it for you.
But, what if you didn’t have to do that last part?
In this post, we’re going to talk about how to build your own swimming pool. Everyone loves a good DIY project, so why not build something that your whole family will love you for. After all the hard work is done, you can take a dip and enjoy the fruits of your labor.
Learning How to Build Your Own Swimming Pool
Before we start, you should know that it’ll be much easier to hire a professional to take on this task. However, if you’re handy and love a good project, there’s nothing more gratifying than building your own pool.
It requires a healthy amount of planning and a lot of help from your friends, so let’s start there.
Planning the Pool
Before you start deciding on the shape of the pool and the materials you’re going to use, you’re probably going to need a residential building permit. You can do this by visiting your local Department of Building and Saftey’s website, just provide them with some minor details, namely the dimensions of the site you’ll be building on.
You can then decide where you want your pool to be in your yard. If your backyard is big enough, you can set it in one section, but most backyards will be dominated by a pool.
Consider what you might have to add or remove in the backyard to make the pool work. The more you have to do, the higher the costs will be.
Start designing the pool. Decide what shape you want it to be (rectangle, square, round, oblong), how big (typically 10×20, 15×30, or 20×40, if rectangle) and how deep you want it (4-15 feet).
Then, choose the number of entrances and ladders that you want. A larger, more complex pool will be more expensive.
You can then decide which material you want your pool to be. Most residential pools are made of poured concrete, fiberglass, or vinyl, so choose which one works for you.
If you go with concrete, which is the most durable, you may want to hire concrete pool builders to finish yours. It’s more expensive but it’s the preferred method for permanent pools and it’ll cut down on maintenance down the line.
Vinyl is the cheapest and quickest to install, but the lining will often bubble up and need repairing. A molded fiberglass pool is one piece and can be easily installed into a large enough hole, then backfilled to fit it into your yard. They’re more durable than vinyl but less than concrete.
Once you’ve made these tough decisions, the work can begin!
Excavating the Area
Budget about a week for the excavation phase. If all goes well, digging the hole where your pool will be should only take a day or two with a digger. But, if you run into any obstructions like utility lines or other pipes, then you’ll have to solve these problems, which takes time.
If you decide to work with a pool builder, then you’ll be at the mercy of their schedule, so that could slow things down as well.
The Pre-Pool Work
Once the pool site is dug out, you can start laying down the plumbing and electrical work to make sure your pool functions optimally. If you’ve got no prior plumbing or electrical experience, you should work with someone that does because it can be dangerous and you’ll run the risk of doing it incorrectly.
You might have to build around your water system and any other backyard features that you might have, so this process usually takes a few weeks to finish. It’s important for the pool to have reliable inner workings, so take your time here.
Lining
Create the shape of the pool and reinforce it with metal rebar and wood. You need the floor and walls of the pool to be flat and level so it provides support once you put the lining in.
Each pool lining material will have a different process. If you’re going with concrete, you’ll have a team pour a mixture over the steel forms, then grade and smooth the concrete while it’s wet. For vinyl pools, you’ll pour a concrete base, then stretch one piece of vinyl to fit over it.
A fiberglass pool will have to be set into the hole with a crane, then the area around it will be filled to pack it in tightly.
Filling It Up
Once the pool lining is complete, one of the last things to do is fill it. Typically, you’d rent a water truck to make this process faster, as filling it up with a water supply from your home might take all day and night. While it’s being filled, you can check for leaks and plumbing malfunctions.
Once it’s filled up, you’ll need to treat the water with chlorine or algaecide to get the right pH level. You can pick up a water testing kit from any hardware store. The amount of chlorine that you’ll need to add will depend on the volume of your pool, you’ll typically want a pH level between 7.4 and 7.6.
Go For a Dip
After weeks of hard work, we think that you probably deserve to take the first dip in your new pool. Learning how to build your own swimming pool is satisfying, but not nearly as satisfying as spending your weekend soaking in the sun while floating in a pool that you built yourself.
Did you find this article helpful? Come back and visit us for more great tips for home sellers and buyers.