A DIY Water Heater Replacement Guide: What You Need to Know
You may not think about it very often, but your hot water heater is one of the most important parts of your home.
Most of us probably could not even imagine going a day (or even a few hours) without hot water.
But, since most water heaters only lasting about 8 to 12 years, it’s bound to fail sometime.
If your water heater is on its way out, read on for a DIY water heater replacement guide and learn to replace this vital appliance all by yourself.
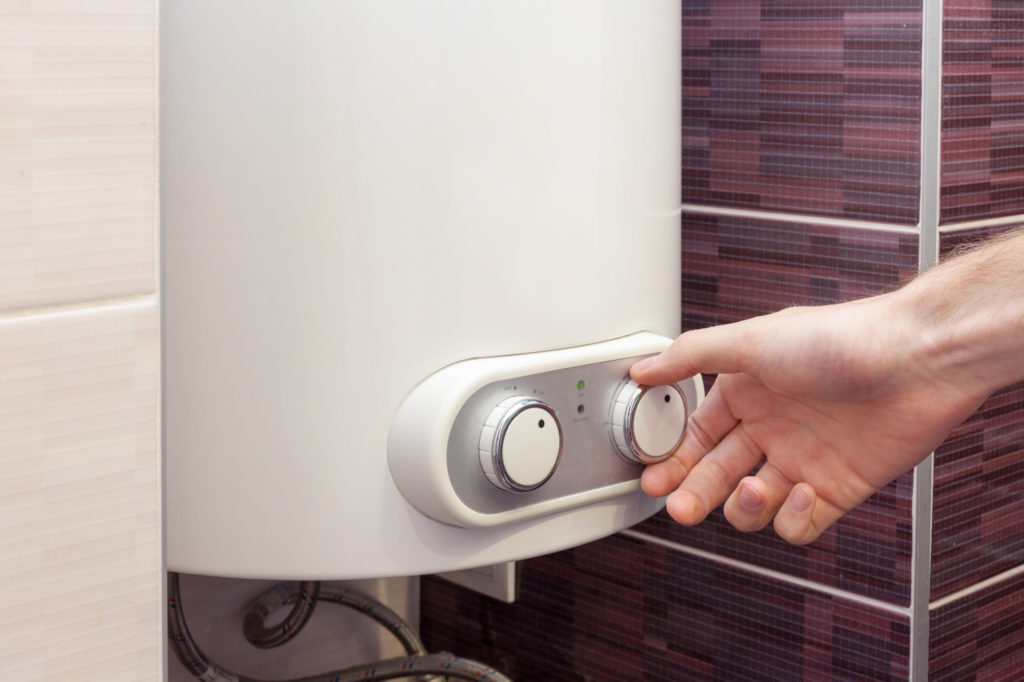
Before You Get Started: Asses the Situation
Before you get started on your water heater replacement, it’s really important to take a look at your water heater and make sure you know what you’re working with. Be sure to check and see if you have a gas or an electric heater and that the unit is a standard size.
You’ll need to know these things before picking up a new unit.
Shut Off the Water and Power Supply
Once you know what you’re working with and have a new water heater ready, you’ll want to start by shutting off the water and power to your unit.
Electric units can usually be unplugged, while gas heaters will need to have the gas shut off to the unit.
Drain the Old Water Heater
Next, you’ll need to drain the old water heater.
Most water heaters have a drain valve that’s pretty easy to find on the lower part of the unit. Attach a hose to the valve and drain outdoors our into a nearby sink.
Disconnect and Remove the Old Water Heater
Once the water heater is empty and disconnected from the water and power source, disconnect the water lines.
If you have an electric water heater, shut the circuit off to the unit in the breaker box then disconnect the electric connection.
With a gas unit, double-check that the gas is off and disconnect the gas line. You’ll also need to disconnect the vent pipe from the top of the heater.
After everything has been disconnected, move the old unit out of the way.
Installing the New Water Heater
With the old water heater out of the way, it’s time to bring in the new unit and begin reconnecting the fittings.
Start by connecting the relief valve. Then get the water hooked up. Connect the electricity or gas lines last.
If you have a gas water heater, you’ll also need to attach the vent.
Finishing Up Your Water Heater Replacement
After you’ve checked to make sure everything is hooked up correctly, turn the water back on. When the tank is full, you can turn on the power and set the water temperature.
Give the tank some time to warm up and you’re ready to go!
Your Turn
A DIY water heater replacement is easier than you think. Just be sure to get everything connected properly and adhere to all local and state regulations for plumbing and gas or electric work.
Check out the rest of our blog for more on DIY home updates and repairs.